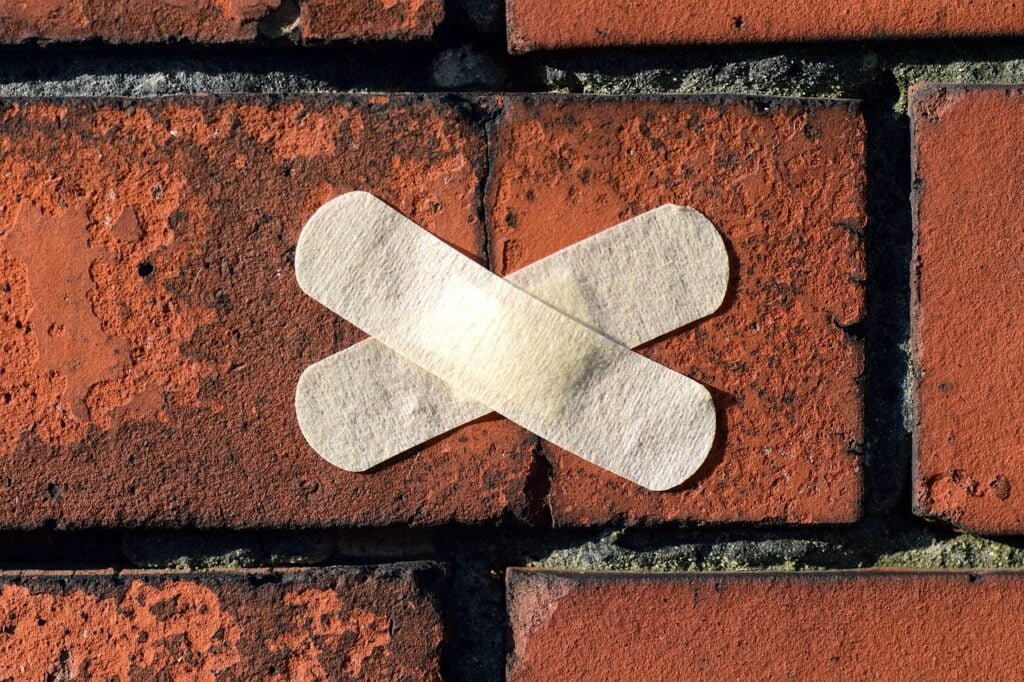
How to Fix a Crumbling Brick Chimney (What Homeowners Should Know)
A crumbling brick chimney is more than just a cosmetic concern. Deteriorating brick and mortar can indicate moisture damage, structural weakness, and potential safety issues. While some homeowners look for quick fixes, it’s important to understand why chimneys crumble and when professional repair is the safest option.
This guide explains what causes brick chimneys to crumble, what can realistically be repaired, and when more extensive work is needed.
Quick Answer: Can a Crumbling Brick Chimney Be Fixed?
Yes, a crumbling brick chimney can often be repaired if the damage is caught early. Minor deterioration may be addressed with targeted masonry repairs, while more advanced damage may require tuckpointing, partial rebuilding, or full chimney restoration. The correct solution depends on how widespread the damage is and whether the chimney remains structurally sound.
Why Brick Chimneys Start Crumbling
Brick chimneys are exposed to harsher conditions than most masonry on a home. Several factors commonly contribute to deterioration.
Moisture Intrusion
Water is the leading cause of crumbling brick and mortar. When moisture enters masonry and freezes, it expands and gradually breaks down brick surfaces and mortar joints.
Freeze–Thaw Cycles
Peoria-area chimneys experience repeated freeze–thaw cycles throughout the year. Over time, this constant expansion and contraction weakens masonry materials.
Failing Mortar Joints
In many chimneys, the mortar deteriorates before the brick itself. Once mortar fails, bricks lose support and can begin to loosen or crumble.
Signs a Brick Chimney Is Deteriorating
Common warning signs of a crumbling brick chimney include:
- Flaking or spalling brick surfaces
- Missing or crumbling mortar joints
- Loose or shifting bricks
- White staining (efflorescence) on masonry
- Pieces of brick or mortar falling near the base
These signs often indicate that repairs should not be delayed.
Why Surface Patching Is Often Not Enough
Applying surface patching materials may temporarily improve appearance, but it rarely addresses the underlying cause of chimney deterioration. Trapped moisture, incompatible materials, or improper repairs can actually accelerate damage.
Chimney masonry repairs must allow moisture to escape and maintain proper structural support—something surface patching often fails to achieve.
When DIY Fixes Can Create Bigger Problems
Attempting chimney repairs without proper materials, tools, or experience can result in:
- Poorly bonded mortar or brick
- Trapped moisture inside the chimney
- Faster brick deterioration
- Safety risks from working at height
In many cases, homeowners attempting DIY fixes later discover the damage has worsened.
When to Call a Professional for a Crumbling Brick Chimney
If brick deterioration is visible above the roofline, bricks are loose, or mortar loss is widespread, professional repair is strongly recommended. A masonry professional can determine whether targeted repairs, tuckpointing, or rebuilding is required.
Many homeowners researching how to fix a crumbling chimney ultimately find they need professional chimney repair in Peoria, IL to restore long-term safety and durability.
How Professional Repairs Address the Root Cause
Professional chimney repairs focus on:
- Removing deteriorated mortar safely
- Using compatible masonry materials
- Restoring structural stability
- Preventing future moisture intrusion
This approach ensures repairs last rather than temporarily covering up damage.
Preventing Future Brick Deterioration
Routine inspections, timely repairs, and proper chimney protection help extend the life of brick chimneys. Addressing small issues early can significantly reduce the need for major repairs later.
Understanding the Condition of Your Chimney
Every chimney is different. Age, construction methods, exposure, and prior repairs all affect how brick masonry performs over time. A professional evaluation provides the clearest picture of what repairs—if any—are needed.
Ready to Take the Next Step?
If your brick chimney is crumbling or showing signs of deterioration, a professional inspection can help determine the safest and most effective solution.
📞 Call (309) 696-7765
👉 Contact Us
Can a crumbling brick chimney be repaired?
Yes, a crumbling brick chimney can often be repaired if the damage is not extensive. The appropriate repair depends on whether the chimney remains structurally sound.
Is a crumbling chimney dangerous?
A crumbling chimney can pose safety risks, including falling masonry and structural instability. Severe deterioration should be evaluated by a professional.
When does a chimney need rebuilding instead of repair?
Chimney rebuilding may be necessary when damage is widespread, bricks are loose throughout the structure, or repeated repairs no longer provide lasting results.
